
Xeriscaping on a Budget: Our Story
What is Xeriscaping, you ask? The National Geographic Resource Library puts it simply: “Xeriscaping is the practice of designing landscapes to reduce or eliminate the need for irrigation”.
When we bought our home in 2013, the front yard was all grass (not even good grass… the crabby kind), with the exception of two planted areas against the front of the house. Those contained an Oak tree that had accidentally planted by a squirrel (it was too close to the house to have been deliberate), some Holly, a few Columbines, and a lot of weeds. Sadly, this is the oldest picture I seem to have, and you can see by this picture we had already created two beds along the sidewalk where it had it had been grass like the rest of the yard. You can see the remaining grass area in the background. We also updated the beds in the front of the house to get rid of some of the things we didn’t like.
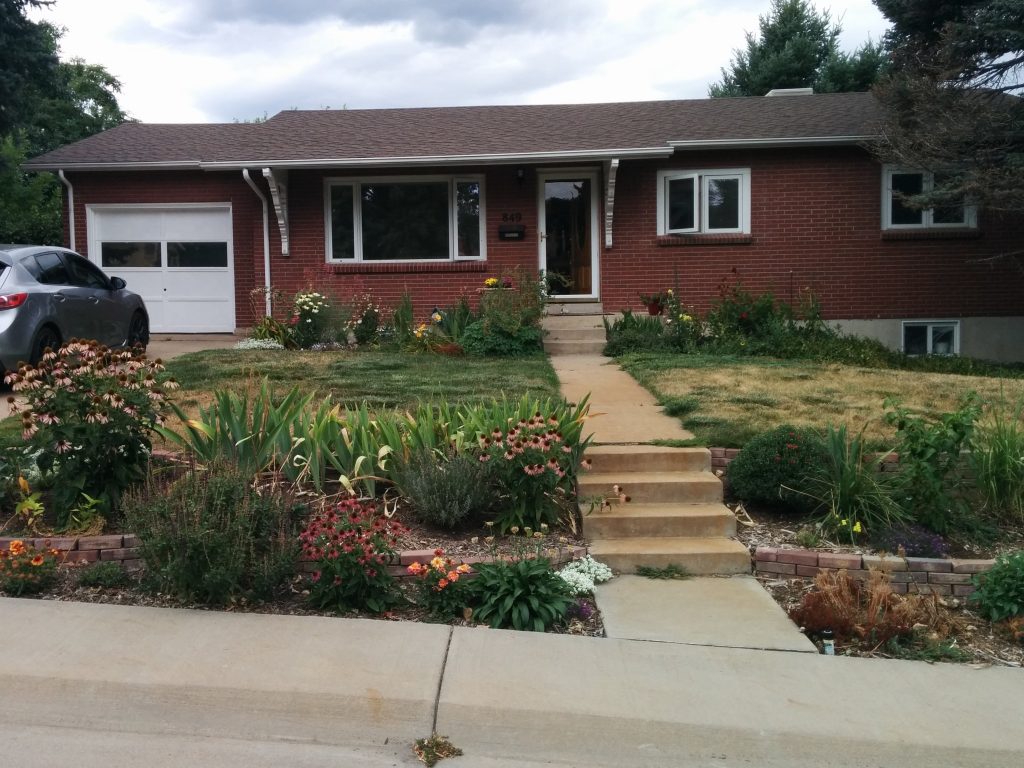
While these upgrades were great and definitely made the front look much more pleasing, there was still the issue of the grass. In Colorado, any given year is a drought and the thought of wasting water on a lawn that never gets used, or having to let it die every summer seemed wrong. Especially when there are alternatives that provide so much more joy!
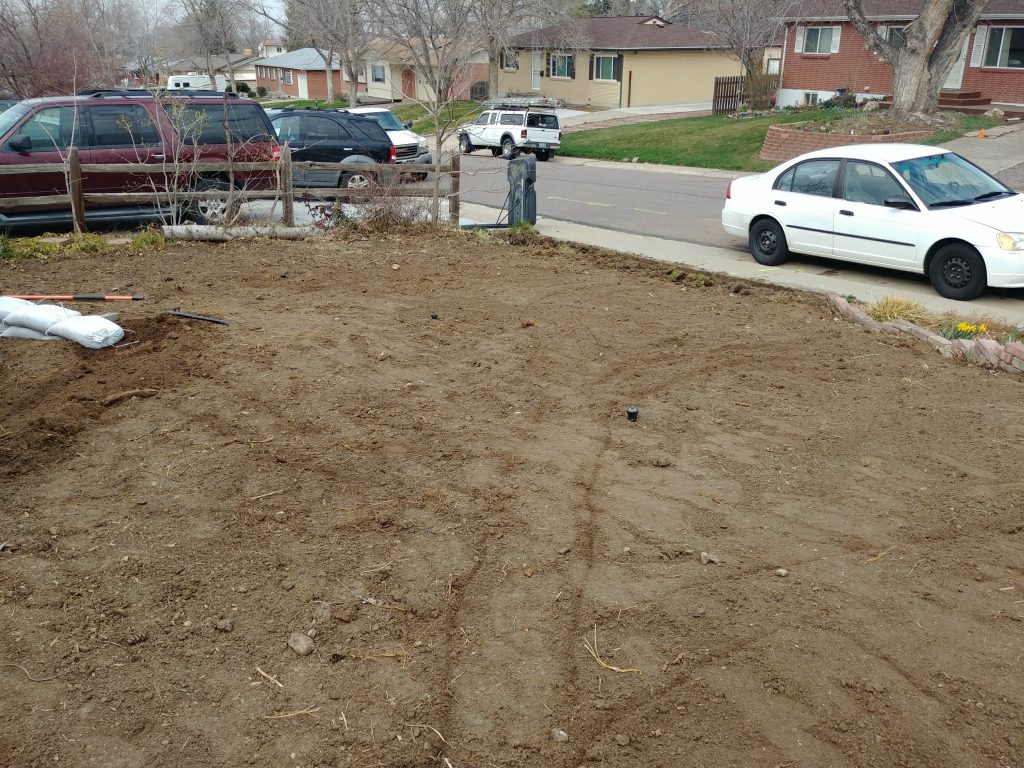
In 2018, Matt rented a skid steer and we literally peeled off the top layer of grass. We did this on the largest side of our front yard. The smaller patch of grass between our front walk and driveway is still in queue, but it will happen (baby steps). Someday there will be a post on the absurd pile of dirt and grass we generated and what we did with it, but that is for another time. For now, just pretend like all that magically disappeared.
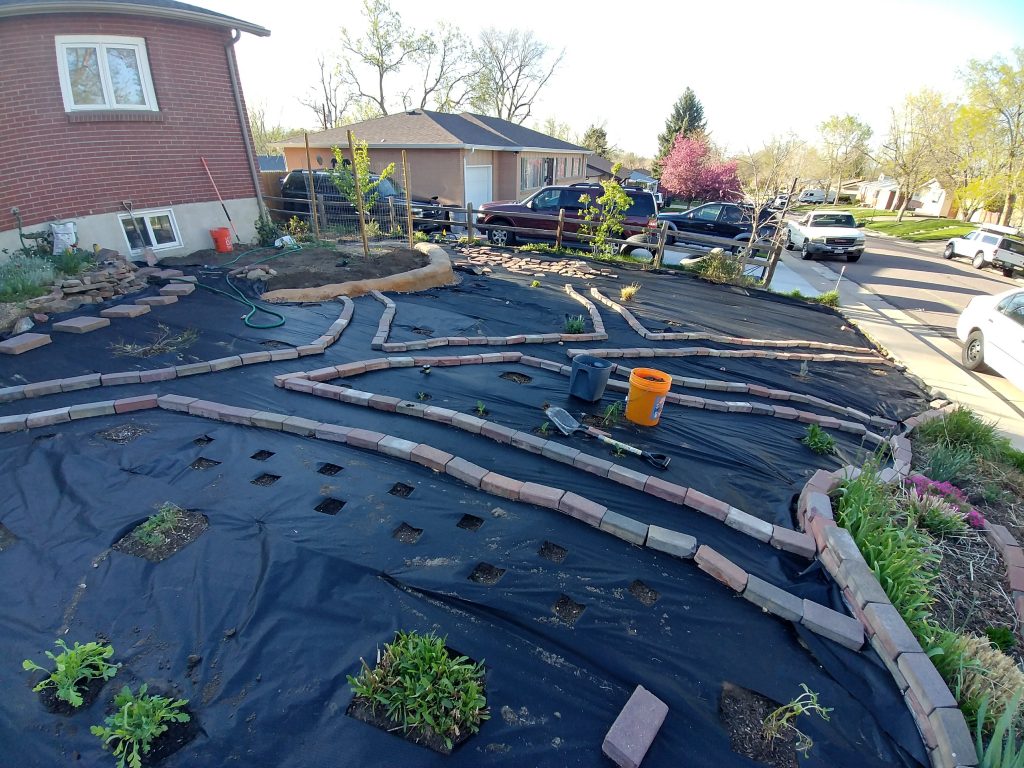
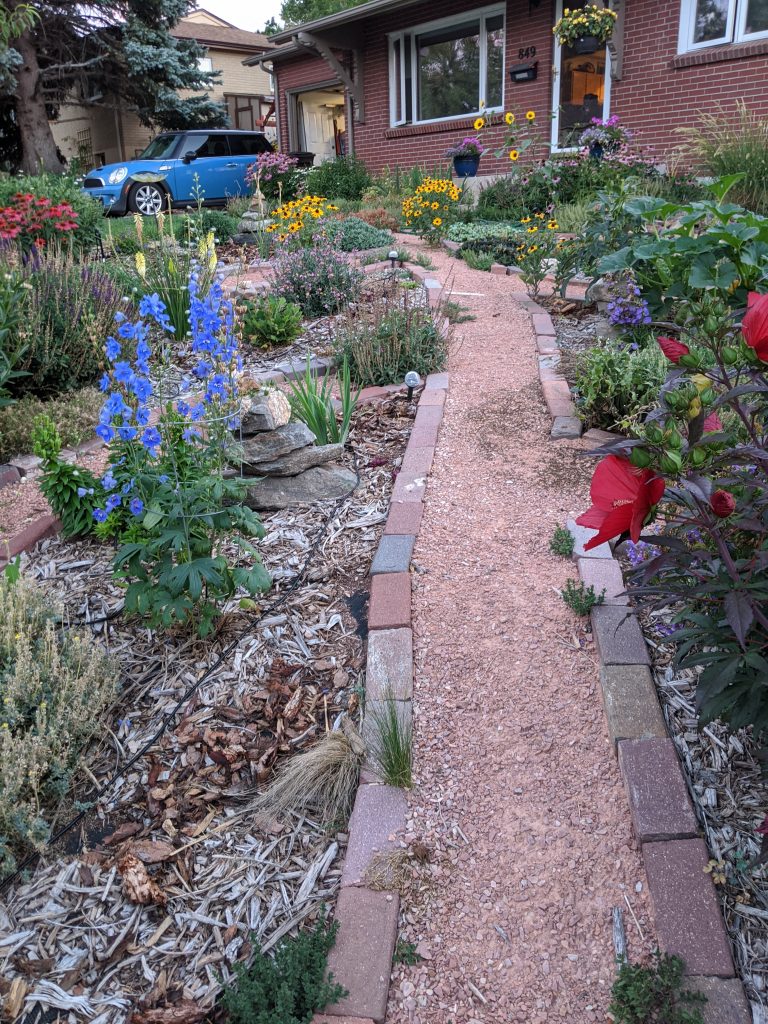
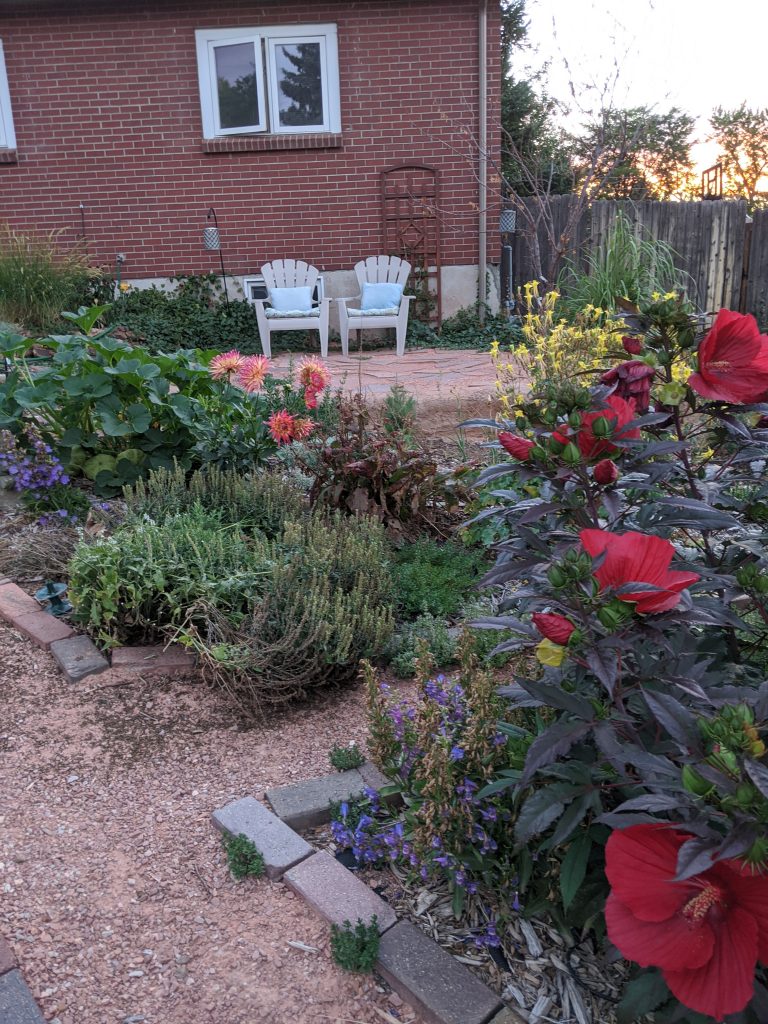
The next step was to determine what our design was. We had two goals: we wanted a nice patio area that we could use in the summer to sit and enjoy the flowers (the added benefit to this was that in the afternoon it was shaded compared to the blistering sun in the back yard). And second, I wanted a path system through the area so that it could be a walking garden, as well as ensure that all areas could be accessed for planting, pruning, etc. I elected for something that looked similar to the pattern of a leaf. Once the design was established, weed mat was put down to help avoid any unwanted grass and/or weeds from encroaching on the new plants. Next, we selected the spots for our new plants and starting planting. In the background you can see our patio taking shape.
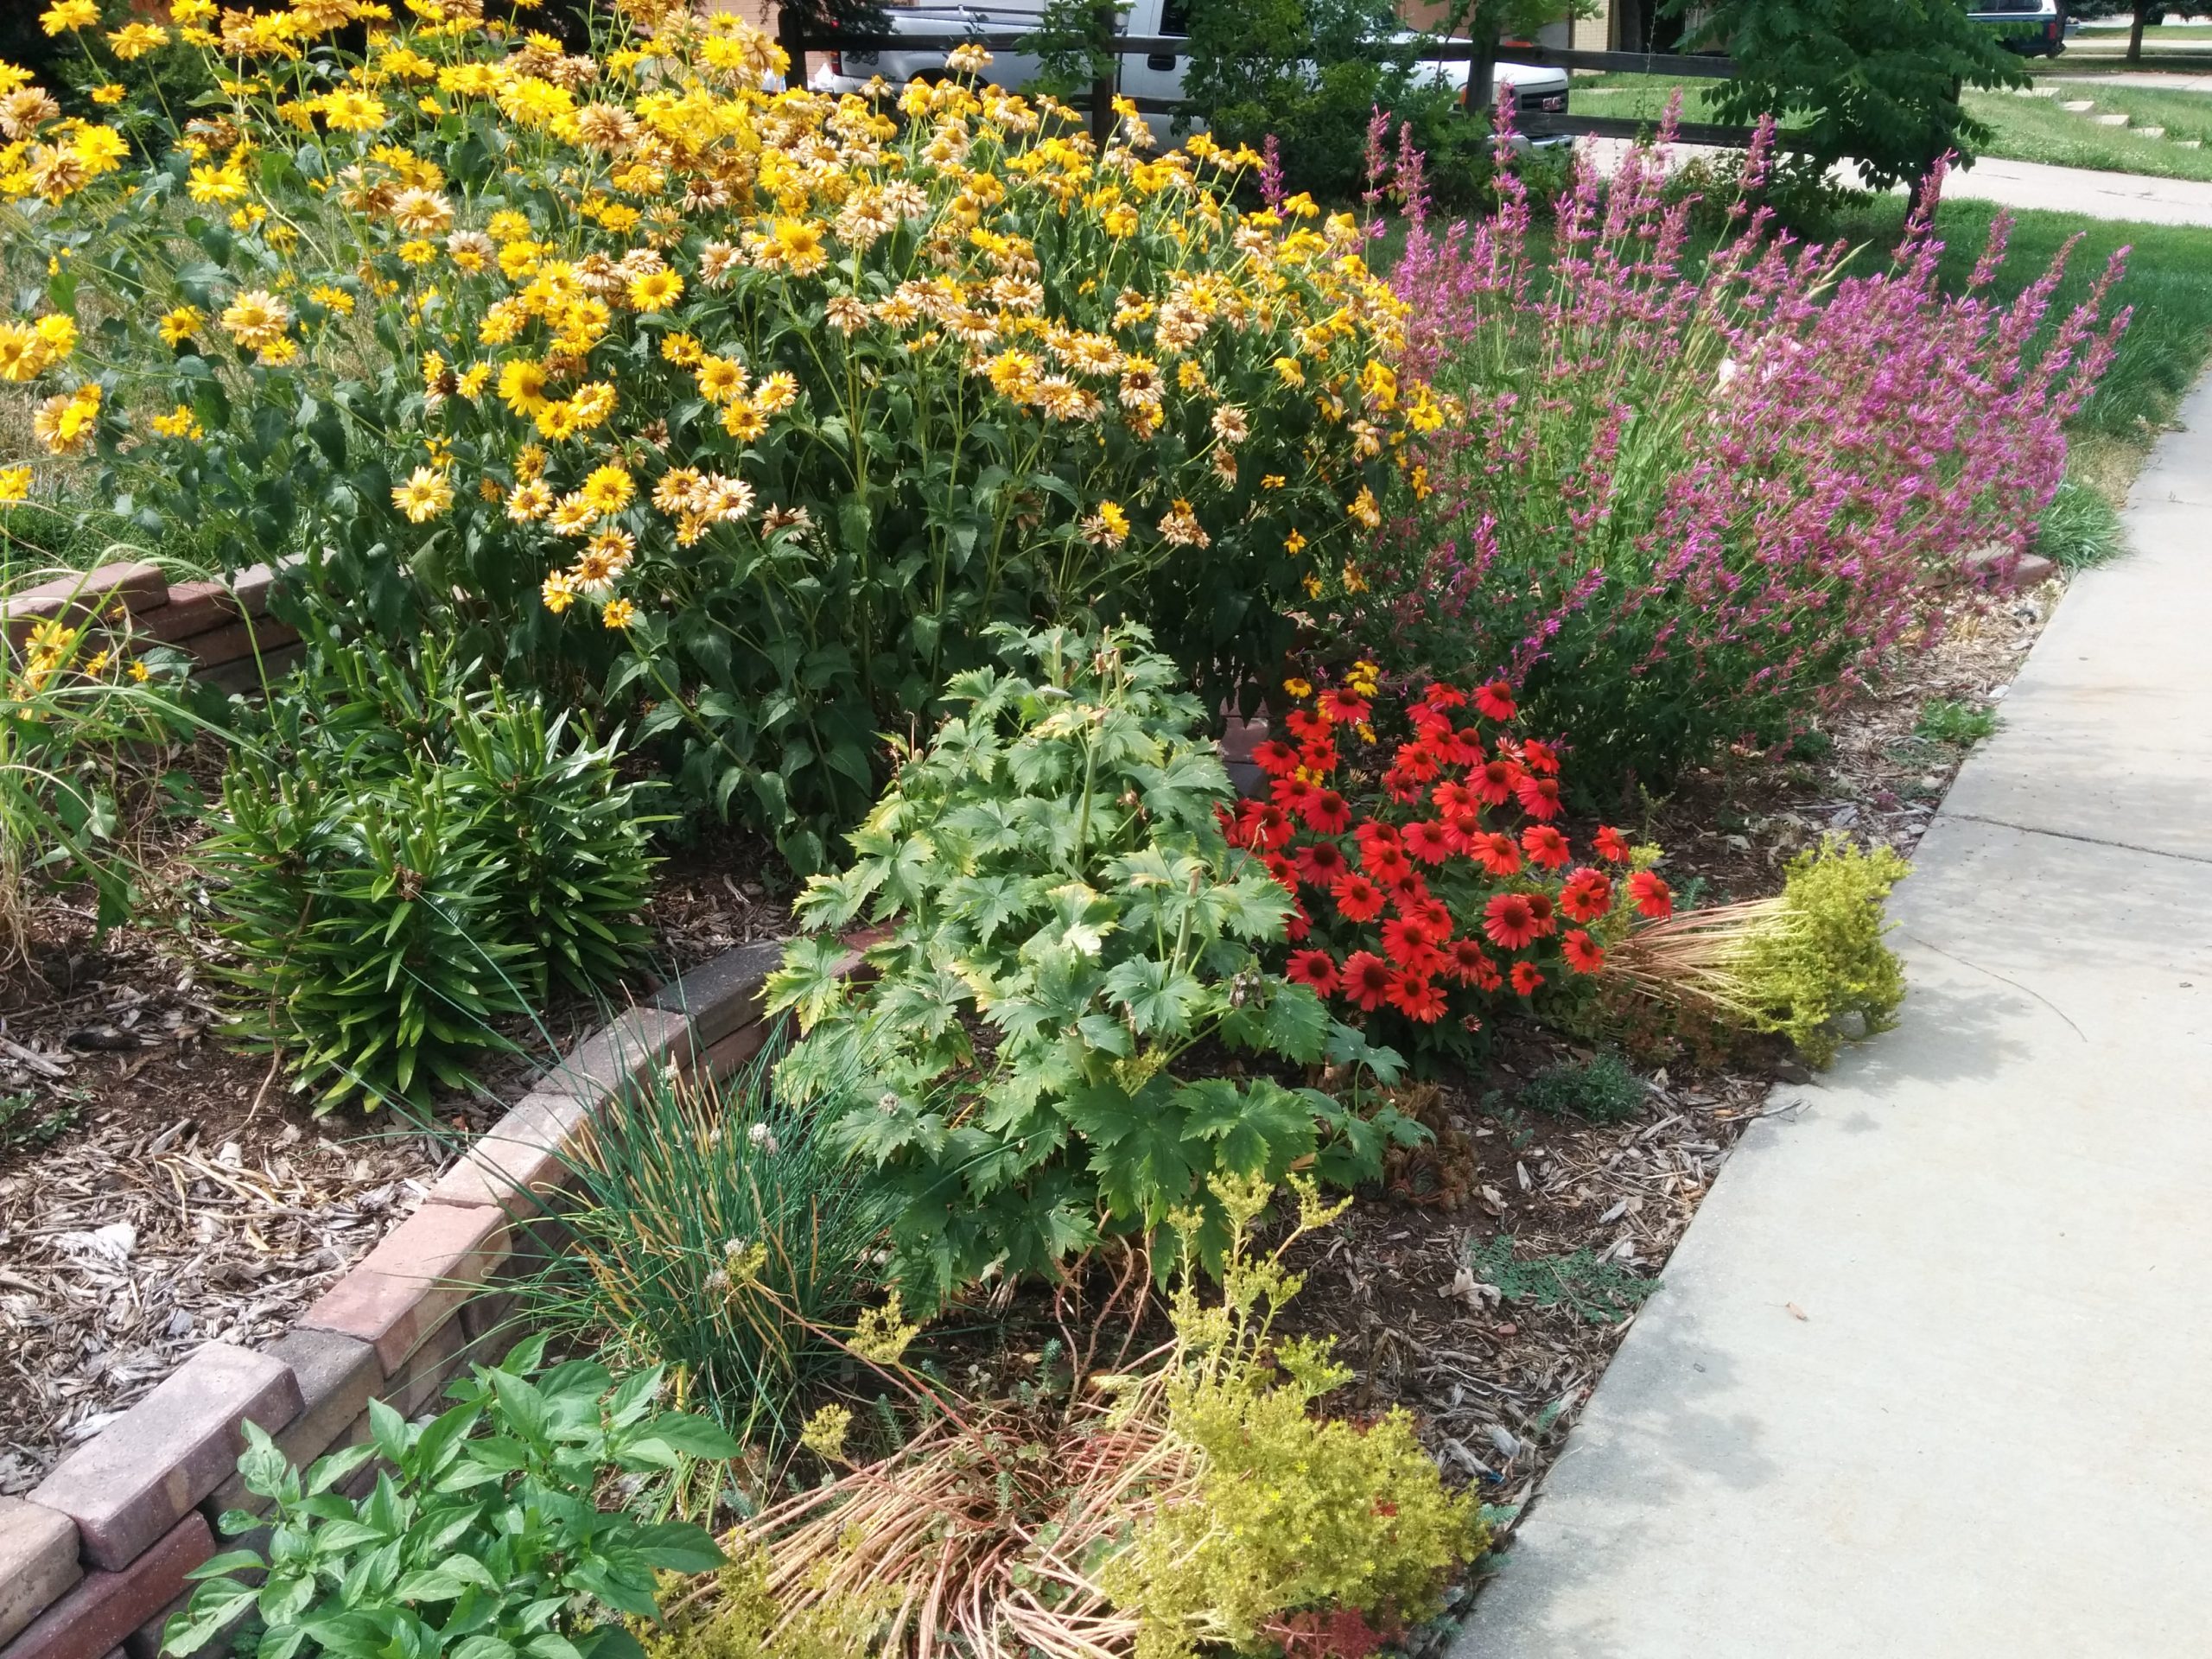
After planting, all that was left to do was to cover the weed mat with mulch. Not only do we have a beautiful, bee-friendly front yard, but we are saving a ton of water. Here is a more current picture of what it looks like now (or at least a portion of it), and also a pic of our finished patio (sadly, our Pluot tree died from some rather horrific cold snaps). One other note that these pictures don’t show: we also added a peach tree to our small grass patch that still remains. We’ve had a couple great years of wonderful peaches!
Eventually, I hope to add several articles relative to this project, including what types of plants we chose, the overall maintenance of this space, water needs, and more. Stay tuned. 😉

Recent Comments